Sheet 05 — Measured drawing

Shirt Fits & Tailoring

A formal shirt is a measured object. Seven points decide whether it looks made for you or merely bought — and three silhouettes decide how it meets your build.

Sheet
05 / 12
Drawing
Shirt Fits & Tailoring
View
Front elevation
Scale
N.T.S.
Studio
Options Mall · Juhu
Technical flat drawing of a formal shirt, front view, with seven numbered measurement points: 1 collar, 2 shoulder, 3 chest, 4 waist, 5 sleeve, 6 cuff, 7 length. Collar Shoulder Chest Waist Sleeve Cuff Length 1 2 3 4 5 6 7
  1. 1Collar
  2. 2Shoulder
  3. 3Chest
  4. 4Waist
  5. 5Sleeve
  6. 6Cuff
  7. 7Length

Slim, tailored or regular: the taper decides

The difference between the three standard fits is mostly one relationship: how much narrower the shirt is at the waist than at the chest. Read the drawings below as sections through the same torso — the dashed line is the regular fit, so you can see exactly where each cut takes fabric away.

None of these is better than another. The right fit is the one that matches your build and the way you dress, and the only reliable test is to try them on one after another.

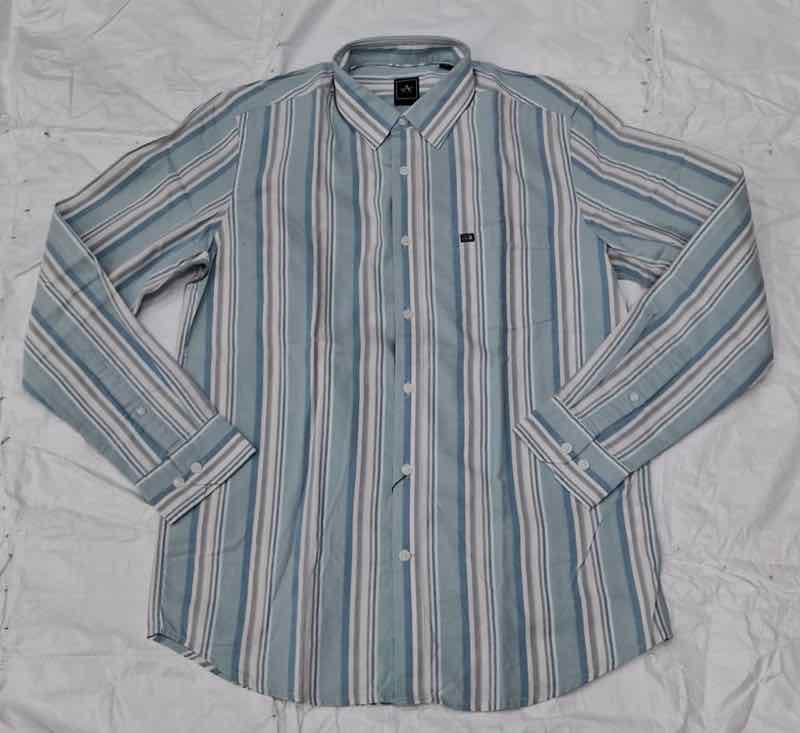
Aqua and grey striped shirt laid flat to show its body shape
Pl. 05.1Shown: an aqua and grey striped shirt laid flat, its body shape visible from chest to hem
Chest Waist Pronounced taper

F-01Slim fit

Characteristics
Cut close through the chest and noticeably narrower at the waist, with higher armholes and a slimmer sleeve. The side seams curve inward so the shirt follows the torso rather than hanging from the shoulders.
Who it suits
Slim and athletic builds, younger professionals, and anyone who wears shirts without a jacket and wants a clean, modern line. Slim fit formal shirts tuck neatly with very little excess fabric.
How it should feel
Close but never tight. You should be able to pinch about 2–3 cm of fabric at each side of the waist; buttons must lie flat with no pulling when you sit.
Chest Waist Moderate taper

F-02Tailored fit

Characteristics
The middle path: shaped at the waist but with a little more room in the chest and sleeve than a slim cut. Often finished with back darts or a gently suppressed side seam.
Who it suits
Most builds, and especially men between sizes — broad in the chest but trim at the waist, or those who want shape without restriction. It sits well under a suit and still looks deliberate on its own.
How it should feel
Defined and comfortable. The shirt should follow your shape through the back and sides, with enough ease to reach forward or across a table without the fabric straining.
Chest Waist Minimal taper

F-03Regular fit

Characteristics
Straight through the body from chest to hem, with a fuller sleeve and lower armhole. The classic cut of business shirts for men, designed for movement and long working days.
Who it suits
Broader and larger builds, men who prefer ease of movement, and long days in Mumbai's warmth when air between cloth and body matters. Regular fit formal shirts are also the traditional choice under a structured suit.
How it should feel
Relaxed and unrestricted, yet still neat. Expect roughly 4–6 cm of spare fabric at each side of the waist; more than that begins to billow above the belt.

Seven details, checked in order

Whichever silhouette you prefer, every formal shirt is judged at the same points. Work through them in a fitting room from the top down; the numbers match the drawing at the head of this sheet.

Point2

Shoulder alignment

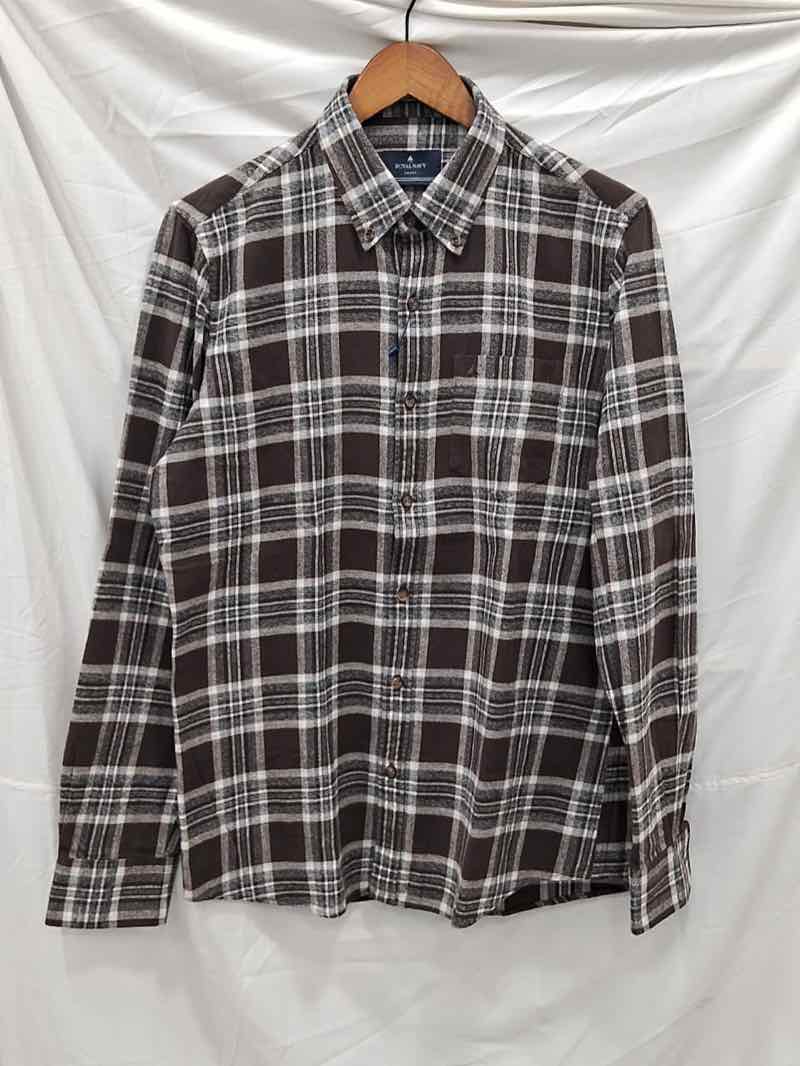
Brown and cream check shirt on a hanger, its shoulder line clearly visible
Pl. 05.2Shown: a brown and cream check on a hanger — the shoulder seam follows the hanger's edge

The shoulder is the foundation of fit. The seam joining sleeve to body should sit exactly at the edge of your shoulder bone — the point where the shoulder turns down into the arm. Too far in and the sleeve pulls across the top of the arm; too far out and the seam slides down the bicep, the sleeve head collapses and the shirt looks a size too big however well the rest fits.

Because the shoulder is built into the yoke and sleeve head, it is the one area that cannot sensibly be altered. Always choose your size by the shoulders first, then look for the cut — slim, tailored or regular — that suits the body below.

✓ Seam at bone edge × Seam dropped

Point3

Chest fit

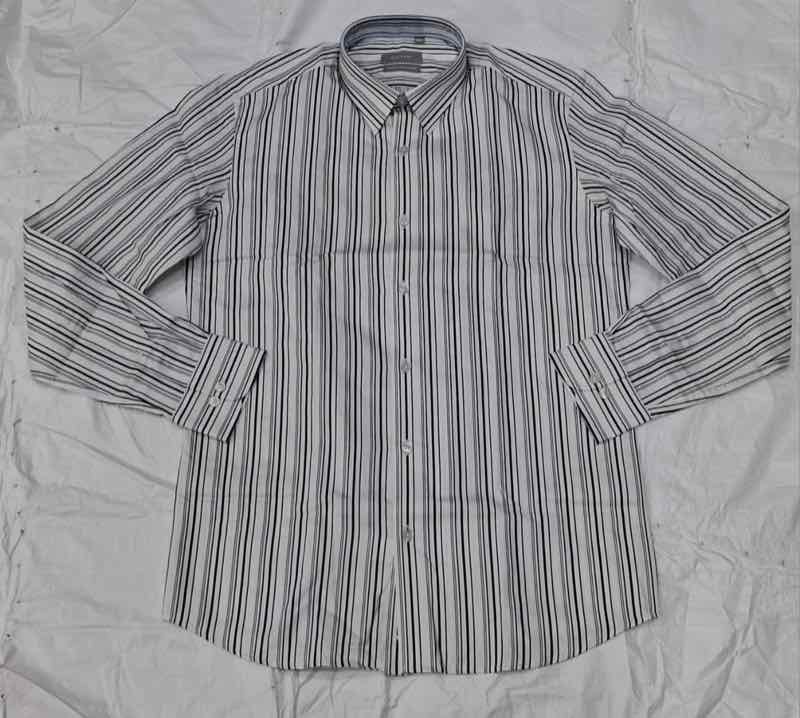
Grey, white and black striped shirt laid flat
Pl. 05.3Shown: grey, white and black stripes laid flat — the stripes run straight across the chest
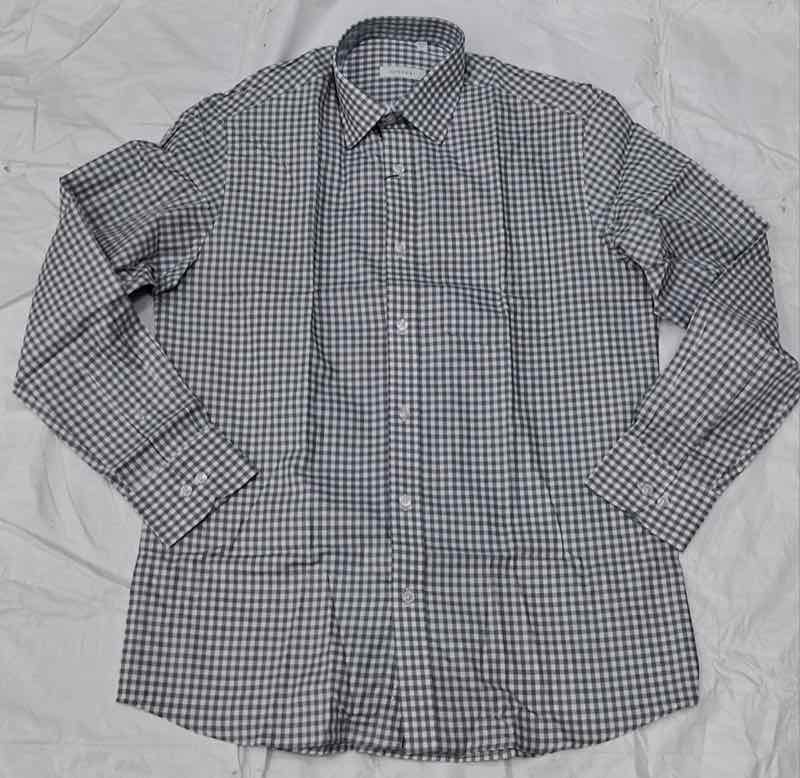
Grey and white gingham shirt
Pl. 05.4Shown: a grey and white gingham

Across the chest the shirt should lie smooth with the buttons fastened. The warning sign is a set of horizontal creases spreading out from each button — an X-shaped pull — and a placket that opens into small gaps when you sit. That means the chest is too narrow for you, whatever the label says.

The opposite fault is easier to miss: loose fabric that folds vertically under the arms. Test by crossing your arms or reaching for a steering wheel. A small amount of tension across the back is fine; strain at the buttons is not. On patterned shirts, stripes and checks should run straight — a distorted pattern betrays pulling at once.

✓ Flat × Pull

Point4

Waist fit

The waist is where the three fits differ most, and where personal preference has the most room. Tuck the shirt in and look in a mirror from the side. In a good fit the fabric falls cleanly from chest to belt, with a soft fold or two at most — never a balloon of cloth spilling over the waistband.

A useful guide is the pinch test: take the fabric at each side seam between finger and thumb. A slim fit should give roughly 2–3 cm, a tailored fit a little more, a regular fit up to about 5–6 cm. More than that and the shirt will billow; less and it will pull open when you sit after lunch.

Men who wear shirts untucked under a sweater or at weekends should judge the waist untucked too: the cut that looks sharp tucked can look boxy loose.

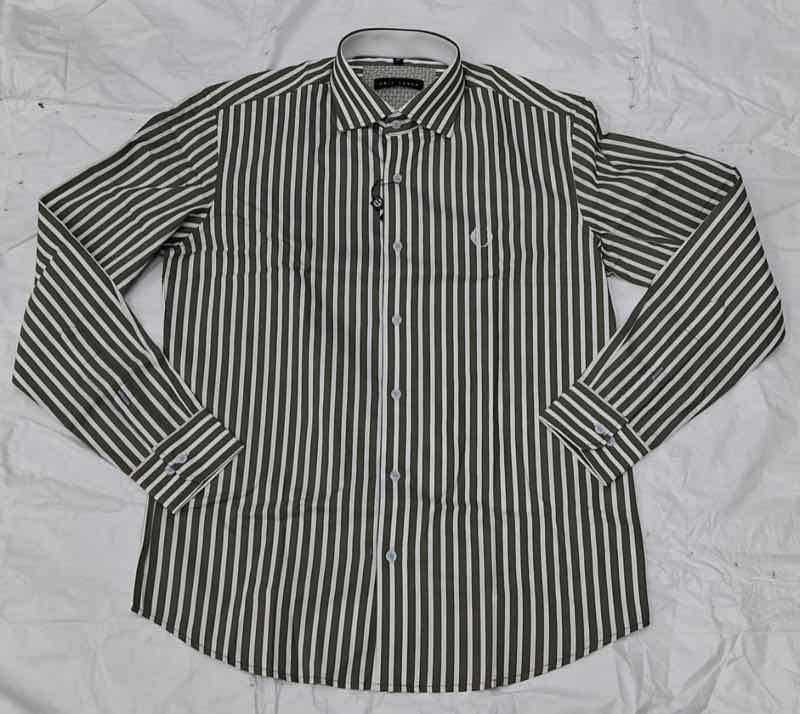
Dark green and white striped shirt laid flat
Pl. 05.5Shown: a dark green and white stripe laid flat, side seams visible from chest to hem

Point5

Sleeve proportions

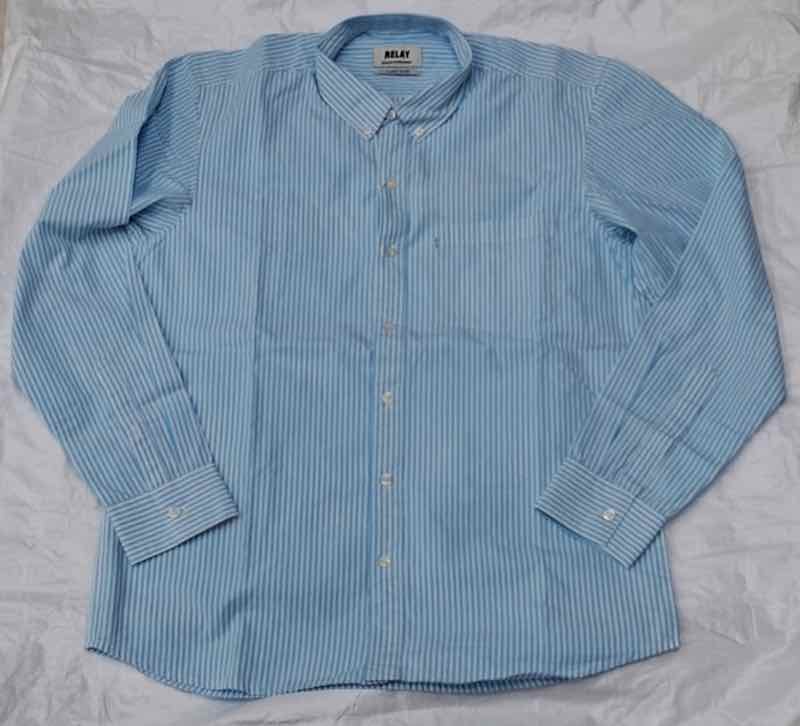
Sky blue fine-stripe shirt laid flat
Pl. 05.6Shown: a sky blue fine stripe laid flat, sleeves extended to the cuffs

Sleeve length is measured from the centre back of the neck, over the shoulder and down to the wrist — which is why it depends on shoulder width as much as on arm length. With your arms hanging naturally, the cuff should end at the wrist bone, just where the hand begins. When you bend the elbow or reach forward, the cuff may move up slightly but should not expose the forearm.

Width matters as much as length. A slim sleeve sits close to the arm from bicep to cuff; a regular sleeve has more room for movement. Either way, the sleeve should not cling to the bicep when you bend, nor flap like a sail. Proportion is the goal: a sleeve that echoes the line of the body.

Point7

Shirt length

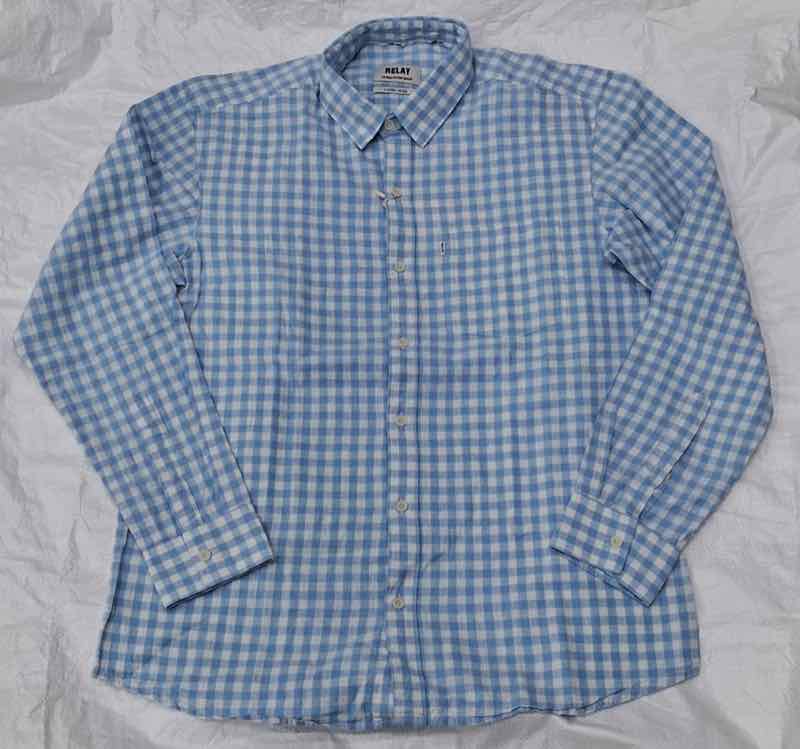
A formal shirt is made to be tucked in, and its length should keep it there. The hem should reach at least to the middle of the seat; the front and back tails are usually longer than the sides, giving the curved hem you can see in the gingham specimen. Raise both arms above your head — if the shirt pulls free, it is too short.

If you wear a shirt untucked, the rules change: the hem should finish around the middle of the trouser fly, never lower than the seat. Most formal shirts are cut too long for this, which is why a shirt intended to be worn out should be tried untucked before you choose it.

Waistband ✓ Hem at mid-seat
Blue gingham shirt laid flat with its curved hem visible
Pl. 05.7Shown: a blue gingham laid flat, its curved shirt-tail hem visible
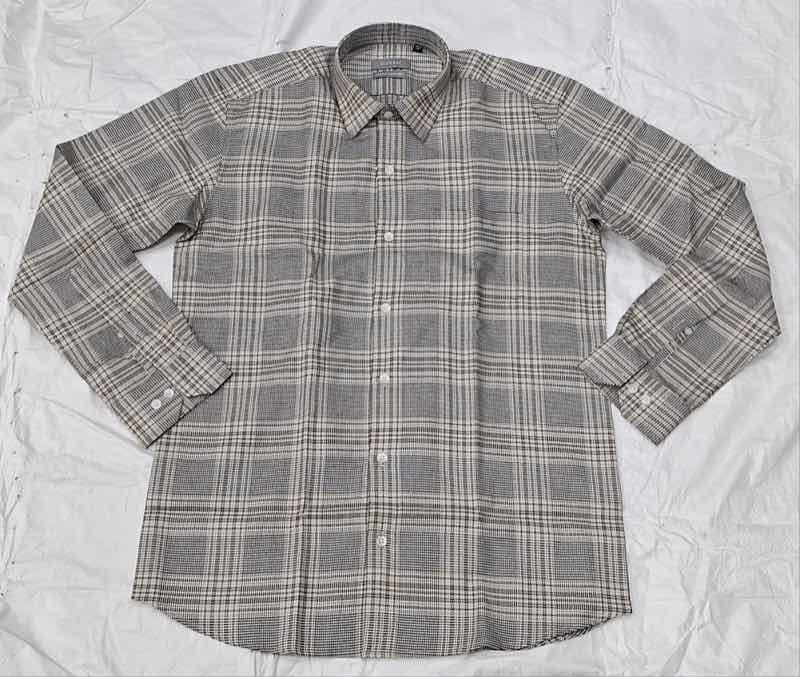
Grey and white check shirt
Pl. 05.8Shown: a grey and white check

Point1

Collar measurements

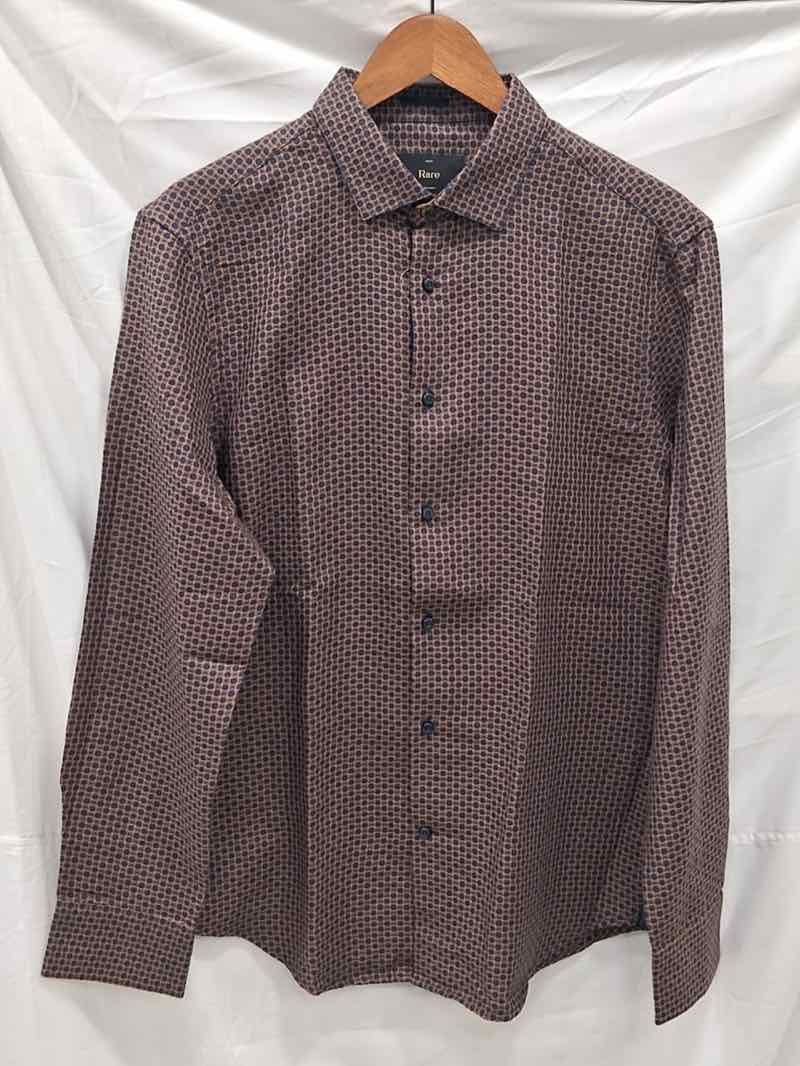
Mauve micro-pattern shirt on a hanger, collar points visible
Pl. 05.9Shown: a mauve micro-pattern on a hanger, collar points visible

Collar size is the circumference of the collar band, measured from the centre of the button to the far end of the buttonhole. To find yours, measure around the base of your neck where the collar would sit, keeping the tape level, and add about a centimetre for comfort.

The test in a fitting room is the two-finger rule: fasten the top button and slide two fingers, laid flat, between collar and neck. They should fit snugly with no forcing. If they cannot fit, the collar will choke under a tie; if there is space for a third, the collar will collapse and the tie knot will sag away from the throat.

The collar should also stand clear of the jacket by about a centimetre at the back of the neck, and its points should reach the jacket lapels. Collar styles themselves are explored in the styling guide.

Neck Two fingers, laid flat

Point6

Cuff fit

A well-fitted cuff holds its position at the wrist. Fastened, it should be loose enough for a watch to slip beneath it and tight enough that it will not slide down over the hand. Many shirts have two buttons on the cuff precisely so you can adjust the fit; use the inner button if the outer leaves the cuff loose.

Under a jacket, the classic proportion is roughly 1–1.5 cm of shirt cuff showing beyond the jacket sleeve. It frames the hand, protects the jacket from wear and signals that both garments fit. If no cuff shows, the shirt sleeve is short or the jacket sleeve long; if several centimetres show, the reverse.

Jacket sleeve 1–1.5 cm Cuff
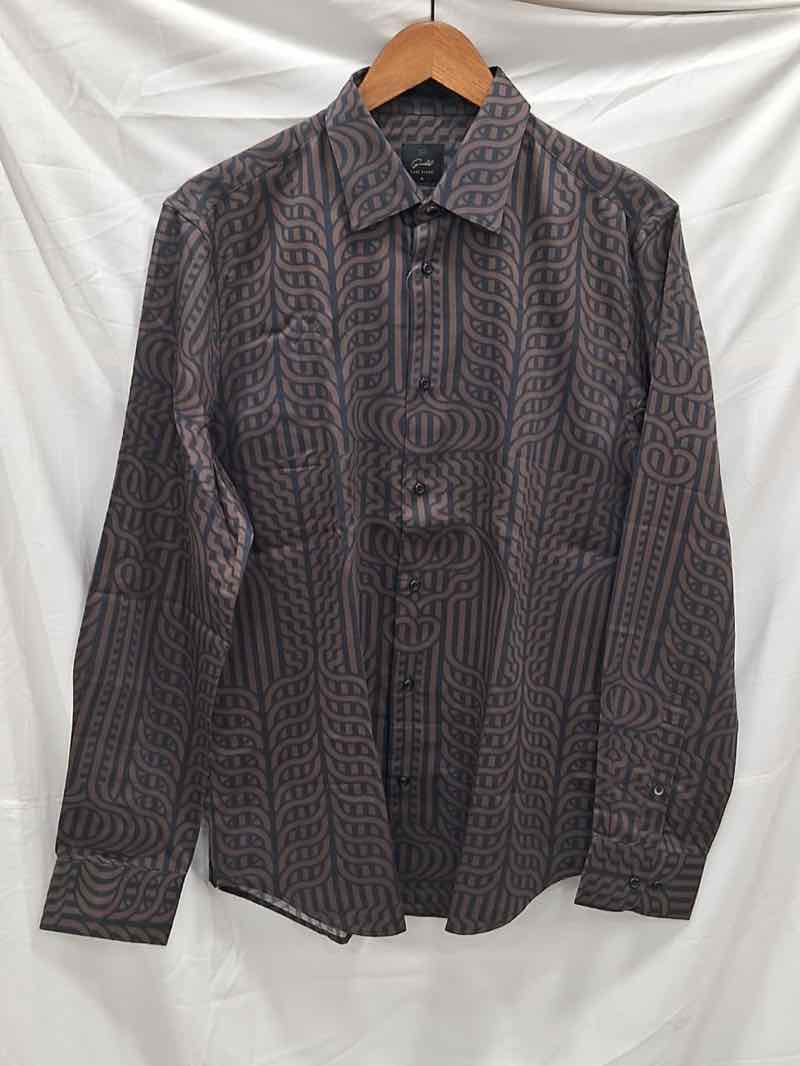
Dark brown micro-pattern shirt on a hanger, cuffs visible
Pl. 05.10Shown: a dark brown micro-pattern on a hanger, cuffs visible

Common fitting mistakes

An architect's snagging list for the shirt: each defect, what it looks like, and the fix. Most are solved not by a different shirt colour or brand, but by a different size or cut.

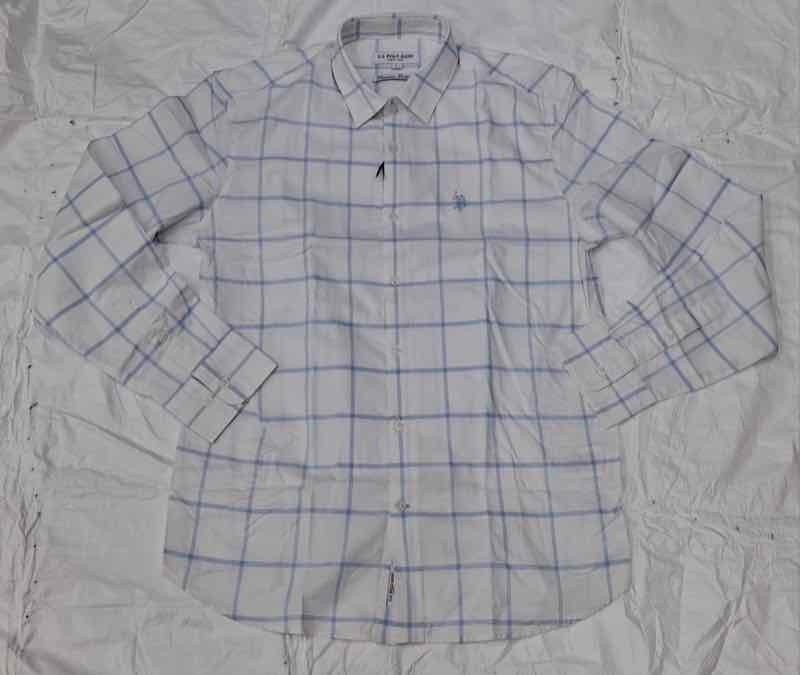
White shirt with a blue windowpane check
Pl. 05.11Shown: a white shirt with a blue windowpane check — a pattern that shows any pulling at once
  1. Collar too tight

    The collar band digs in, the neck skin folds over it and the top button strains or is left undone under a tie.

    Fix Use the two-finger rule. If two fingers cannot slide in flat, go up a collar size even if the body then needs a slimmer cut.

  2. Shoulder seam on the arm

    The seam sits several centimetres below the shoulder bone, the sleeve head collapses and the whole shirt looks borrowed.

    Fix Choose the size by the shoulder first; it is the one measurement that cannot be corrected later.

  3. Pulling across the chest

    Horizontal creases radiate from the buttons and the placket gapes when you sit or reach.

    Fix Move up a size or to a tailored cut with more room in the chest.

  4. Billowing at the waist

    Excess fabric balloons over the belt and gathers in folds once tucked in.

    Fix Try a slim or tailored fit; a regular fit should only carry moderate ease.

  5. Sleeves too long

    Cuffs slide over the hand and bunch at the wrist, hiding the watch and crumpling under the jacket.

    Fix The cuff should stop at the wrist bone, where the hand meets the wrist, with arms relaxed.

  6. Cuffs too loose

    The cuff slips down over the hand because there is no buttoning point that holds it.

    Fix Fasten the cuff so a watch can pass beneath it but the cuff will not slide past the wrist joint.

  7. Shirt too short

    The hem pulls out of the trousers when you raise your arms or sit down.

    Fix The hem should reach well below the waistband — roughly to mid-seat — so it stays tucked through movement.

How to select the right fit

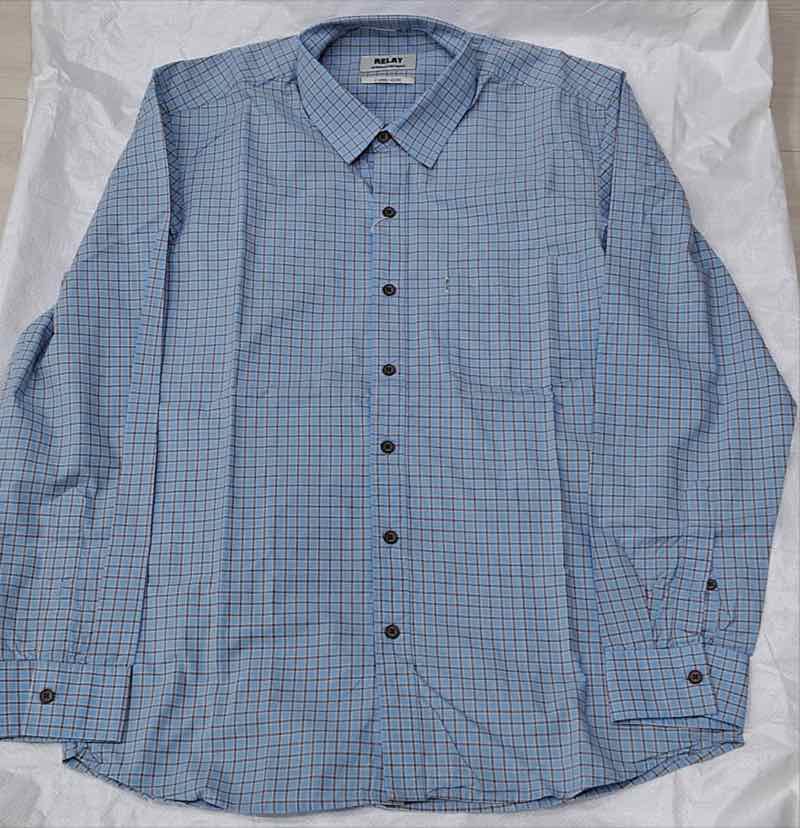
Blue micro-check shirt with dark buttons
Pl. 05.12Shown: a blue micro-check with dark buttons
  1. 01

    Know your numbers

    Measure your neck, chest and sleeve length, or measure a shirt that already fits you well, laid flat. These figures narrow the search before you try anything on.

  2. 02

    Fit the collar and shoulders first

    These two areas are the hardest to change. The collar should pass the two-finger rule and the shoulder seam should meet the edge of the shoulder bone.

  3. 03

    Choose the silhouette for your build

    Compare slim, tailored and regular fit against your chest-to-waist shape: pronounced taper for slim builds, moderate for most, straight for broader frames.

  4. 04

    Check sleeve and cuff

    With arms relaxed, the cuff should end at the wrist bone. Bend your elbow — the cuff should not retreat far up the forearm.

  5. 05

    Test it in movement

    Reach forward, raise both arms, sit down and turn. The buttons should stay flat, the back should not strain and the hem should stay tucked.

  6. 06

    Try it with your jacket

    Under a suit, about 1–1.5 cm of cuff should show beyond the jacket sleeve and a little collar should rise above the jacket collar.

Once the fit is settled, the cloth decides how the shirt behaves through the day — continue to fabrics and construction, or see how fit plays out in business and office wear and across our shirt styles and designs.

Fitting — Formal Shirts Juhu

No drawing replaces a mirror.

Fit is personal and only revealed on the body. Visit Options Mall in Juhu to try slim fit, tailored and regular fit formal shirts in person, one after another, and see which line suits you.

Vile Parle Shopping Centre, Above Sahakari Bhandar, V.M. Road, Juhu, Vile Parle West, Mumbai - 400049
Next — Sheet 06Fabrics & Construction